


Tutorials
Tutorial hairsticks
 |  | Each kit comes with a pair of 20cm chopsticks (light brown or black), 2 eye pins with end parts ball 6mm, 4 each of 6mm, 7mm and 8mm beadcaps. | ||||
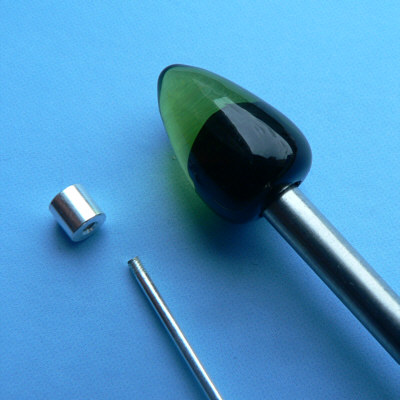
In order to attach the eye pins to the chopsticks you have to cut off the EYE PART of the pin....the threaded part I'll be the END of your stick. The reason we are not sending you pre-cut sticks is that this will give you more flexibility in creating the perfect fit. When cutting the pin (we recommend using wire-cutters), please keep in mind that the hole in the wooden stick is 10mm deep, so you don't want to cut the pin too short! Once you have assembled your decoration, dip the cut end of the pin in glue (preferably a two part epoxy adhesive) and fixate the pin with the bead in the hole and wait the recommended time for the glue to dry ... |  | |||||
 |  |  | ||||
Tutorial Interchangeable Glass Ends
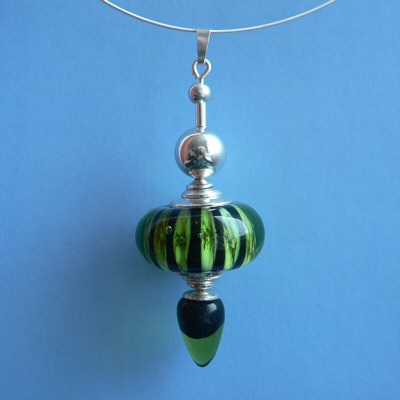
Using the beadhoppers cylinder end pieces in combination with 4mm or 5/32” mandrels opens a whole new world of possibilities.
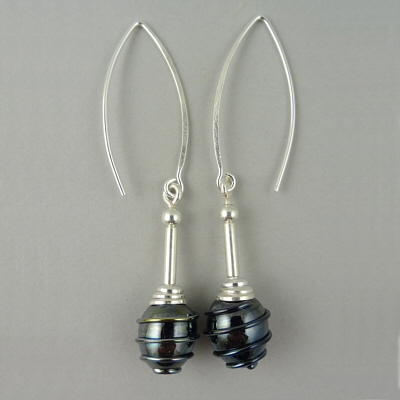
Whether you make your own personalized end pieces or create stunning pendants and earrings that don't really look like "beads", there is no limit to where your imagination can take you....
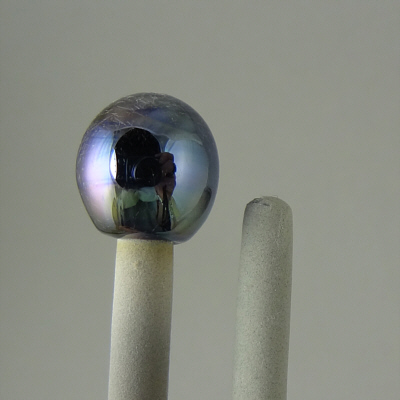
Make a bead at the end of a 4mm or 5/32” mandrel dipped in beadrelease. Make sure that the beadrelease is not too thick or your hole might get bigger than necessary. If necessary, add some water to the beadrelease...
Note: making beads at the end of a mandrel is not as easy as it sounds. It takes some time to get the hang of making a clean upper rim, and a well balanced bead, don't get frustrated in the beginning!
Note: making beads at the end of a mandrel is not as easy as it sounds. It takes some time to get the hang of making a clean upper rim, and a well balanced bead, don't get frustrated in the beginning!
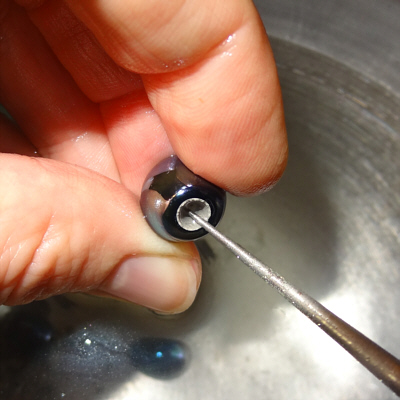
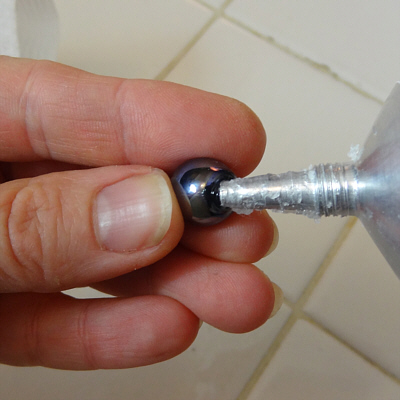
Clean the hole as well as possible, using a diamond bit on a Dremel tool, or any other bead reamer of your choice.
If there is too much beadrelease left in the hole, the glue might not work properly.
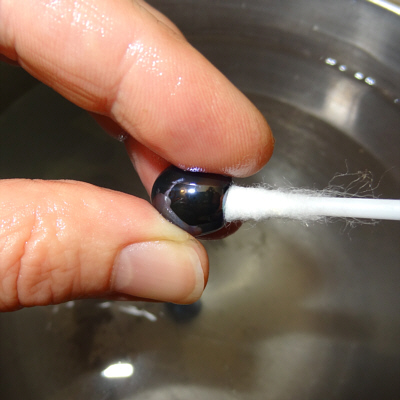
After cleaning the hole, dry the inside with a Q-tip.
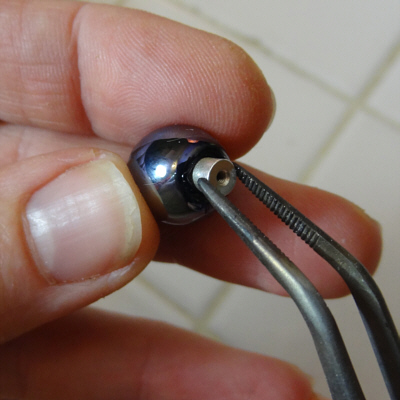
Squeeze some epoxy glue into the hole. Any glue that binds metal and glass will work. Read the label about the time it takes for the glue to set.
If there is too much beadrelease left in the hole, the glue might not work properly.
After cleaning the hole, dry the inside with a Q-tip.
Squeeze some epoxy glue into the hole. Any glue that binds metal and glass will work. Read the label about the time it takes for the glue to set.
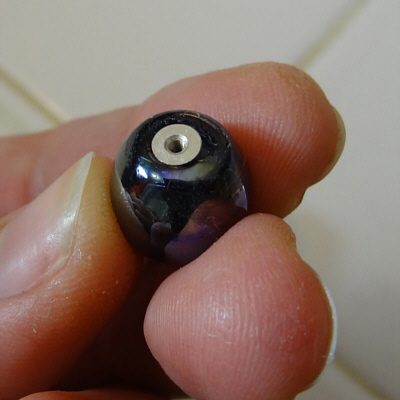
Push the cylinder into the hole, making sure that the hole for the eye pin faces outward....WAIT for the glue to set before starting your design.